Using a banneton (aka a proving basket) when proving your loaf helps to support the loaf during the proofing process, helping it to keep its shape.
A banneton is especially important if you are making a high hydration (wetter) dough but you want to bake a rustic looking hearth loaf rather than a tin loaf. A high hydration loaf without sufficient support will flatten out during the proofing time and won’t hold its shape as well. It can be used for sourdough doughs and for yeasted doughs.
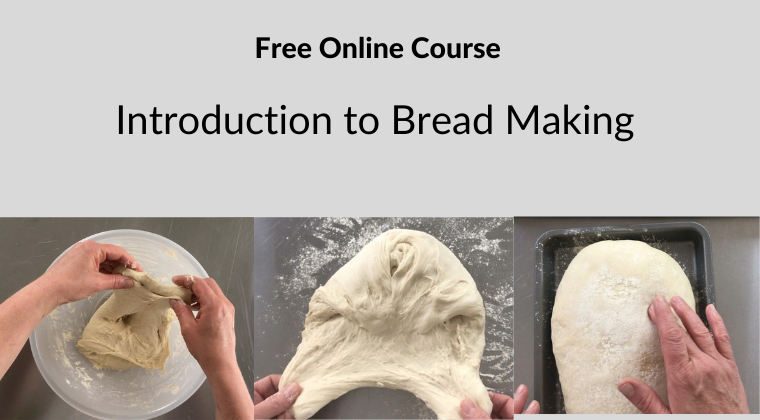
This article introduces you to the banneton (first video below) and how to transfer your loaf from the banneton to the oven (second video below). These are an excerpt from my online course. If you would like to learn more about bread making my Bread Made Easy Membership

You can see from the photo above that using an unlined banneton gives a lovely flour effect to your loaves.
The video below introduces you to the banneton and everything you need to know when you first buy one.
- The different bannetons available
- The linen liner and its purpose
- How you use a banneton
- Making your banneton non-stick
- How to sterilise your banneton
- Seasoning the banneton for first use
- What to look for when buying a banneton
- Which size banneton you should use. NB. The large banneton in the video is 24cm diameter, the small banneton is 20cm diameter. The oval banneton is 30cm long.
Transferring your loaf from the banneton to the oven can take practice. This next video will help.
Banneton Basics
- Always flour your banneton (with or without linen liner) generously before you start to shape. I use coarse semolina (or rice flour) as it tends to offer more of a barrier between the dough and the banneton and doesn’t get absorbed into the dough as easily as flour
- A well shaped loaf with good surface tension is less likely to stick to the banneton
- Once shaped you can dip your shaped loaf into a bowl of semolina and roll it round to get a good covering before placing into the banneton.
- You can also dust the loaf with more coarse semolina once the dough is in the banneton. You can always dust excess semolina off but it is hard to rescue a dough stuck to the banneton
- A banneton becomes more non-stick as it is used as it develops a good coating of flour/semolina with each use. You shouldn’t wash your banneton. To sterilise it pop it in a low oven (100C) for 30 minutes every few weeks.
- Using a round banneton with deeper sides will mean that your loaf is more likely to maintain a round shape during baking. A banneton with shallow sides will usually mean a loaf that has a flatter profile when baked.
What about if you don’t have a proving basket?
If you don’t have a proving basket then you can easily use a colander.
What if your dough keeps sticking?
You can read my article on the subject to help you learn what might be causing your dough to stick.
Ready to learn more?
Take a look at my online bread courses to learn more about making great bread at home.